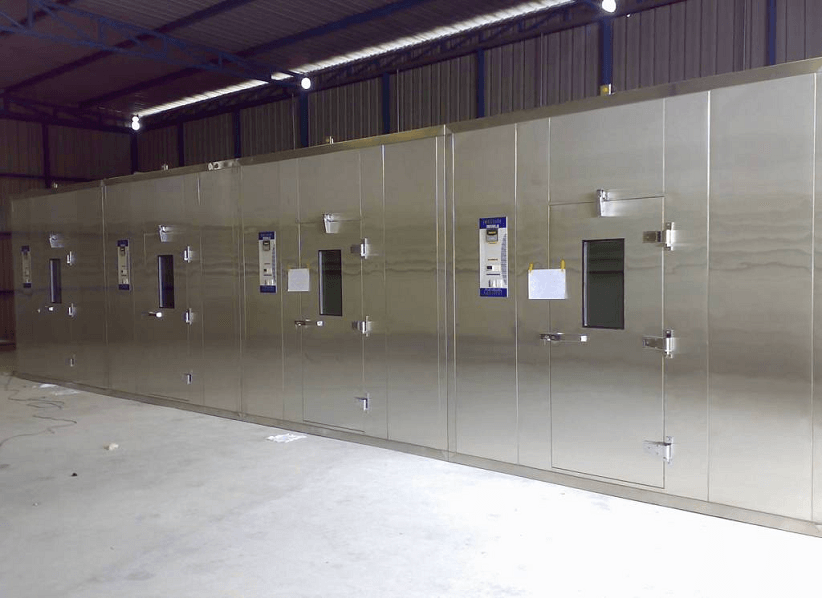
So you just bought a new stability chamber for your facilities. Usually you can buy also the initial qualification from the vendor, or choose to do it internally by your validation team.
The purpose of this article is to describe a simple approach for stability chambers qualification.
Overall Approach
The basics of all qualifications are here applied. IQ/OQ and PQ are therefore performed prior to use. To begin, you should establish the operation conditions (temperature and relative humidity), and prepare IQ/OQ/PQ protocols based on the pre established user requirements specifications. The acceptance criteria for the tests and mappings should be clear on the protocols.
Installation Qualification
The first step is to check the correct positioning of the chamber and then check if the chamber and all components are correctly installed, and also the presence of documentation. Documentation usually includes user’s manual, certificates and SOPs. Utilities can be verified at this phase: electrical feeding, water (pressure, pumps, filters and connections) and exhaust. If the chamber has a control panel/ system, this can be checked too: buttons and commands, screens, etc. Finally check for all components part of critical systems: measuring and control, ventilation, heating and cooling, safety. All associate connections should be properly done.
Operation Qualification
At this phase we start by testing all individual functions of the stability chamber, including switches and controls, alarms, doors, etc. Check the sensors calibration if this was not covered on IQ. The final OQ test is to perform a thermal/humidity mapping of the chamber for the established set point. At this point the mapping is performed with empty chamber and for a determined period of time (not less than 24 hours).
Related: Train Your Staff on Risk Based Equipment Qualification
Mappings
The purpose of this study is to assure that temperature and humidity are evenly distributed inside the chamber and that the established acceptance criteria are met at any point of the chamber.
Use at least ten sensors evenly distributed inside the chamber. For example on the chamber’s corners and at the centre, or 3 sensors on each shelf, depending on the size of the chamber. If you use thermocouples for temperature, assure that the chamber is prepared for it, or in case you pass them through the door, that the door is perfectly closed. The easiest is to use wireless probes, with the only disadvantage is that you will only see the results at the end of the study, instead of doing it online.
Program the sensors to acquire data for example every 5 minutes. Wait for temperature and humidity stabilization for a while and let it run for the established time.
Door Opening Study
At the end of the study, and before removing the sensors, perform a door opening study. This can be achieved for example by opening the door for a certain short time, and keep recording temperature and humidity at a short range (every 10 seconds for example). Once you close the door let it stabilize again. We usually perform 3 door opening trials and at the end we calculate the chamber’s average recovery time.
Performance Qualification
For performance Qualification we only perform a full load thermal/humidity mapping, using the same configuration for the sensors as in the empty chamber study. The minimum study time now is 24 hours. Again at the end of the study we perform door opening trials and calculate the average recovery time.
Requalification
Performance qualification is done on an annual basis, using the same sensors location and for the same time. You can use the same protocol or a SOP describing the method for mapping. After each requalification it is recommended to compare the results with the previous qualifications to see if the chamber is maintaining its performance. If you eventually intend to change your temperature or humidity set points, both empty chamber and full load studies should be performed again using the new set point.


